Purchasing a new stainless steel pan is an excellent kitchen investment. It elevates your kitchen aesthetics while greatly improving your overall cooking experience. To keep your pan performing at its best for years to come, proper pretreatment before the very first use is essential.
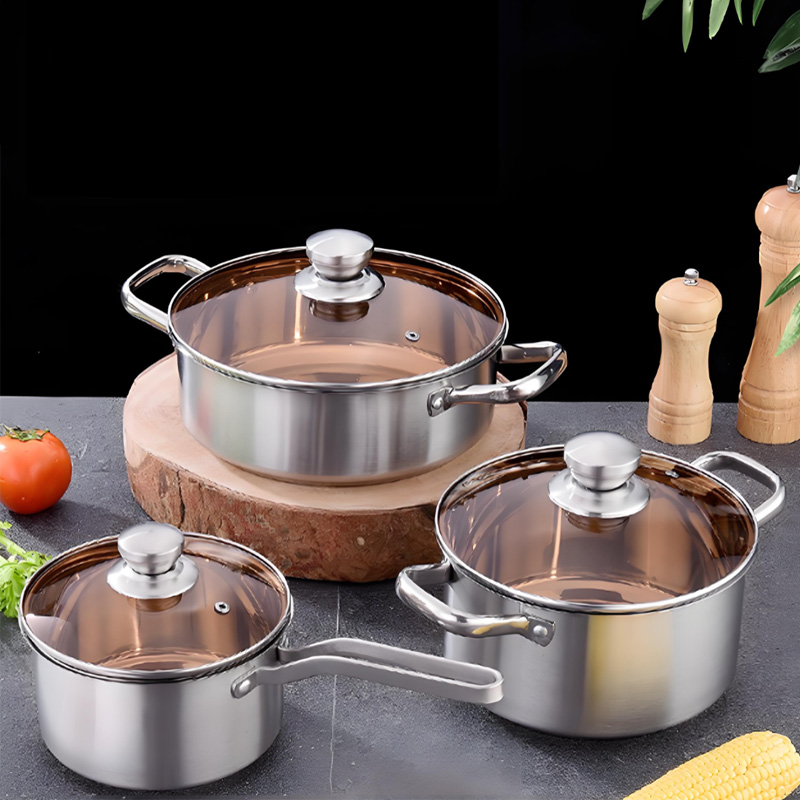
This comprehensive guide walks you through the complete prepping process for brand-new stainless steel cookware, key precautions, and long-term maintenance methods.
1. Features of Stainless Steel Cookware
Stainless steel pans are widely loved by home cooks and culinary enthusiasts for outstanding durability, effortless cleaning and corrosion resistance. They are metal alloys mainly composed of iron, chromium and nickel. Chromium and nickel grant stainless steel natural anti-oxidation and rust-proof capabilities.
However, new pans may carry residual contaminants and industrial substances generated during manufacturing and transportation. That makes pre-treatment prior to initial cooking absolutely necessary.
2. Step-by-Step Preparations Before First Use
2.1 Initial Cleaning
Step 1: Unpack your pan
Carefully remove all packaging plastic and cartons. Handle gently to avoid scratches on the pan surface.
Step 2: Preliminary wash
Clean the pan inside and out with warm water and mild dish soap. Use a soft sponge or cloth for gentle scrubbing. Avoid abrasive tools such as steel wool to prevent surface scratches.
Step 3: Warm water soaking
Soak the pan in warm water for 15 to 20 minutes. This softens factory grease and dust stuck to the surface for easier removal.

2.2 Boiling Treatment
Step 1: Fill with water
Pour clean water into the pan until the cooking surface is fully covered.
Step 2: Bring water to boil
Place the pan on your stovetop and bring the water to a rolling boil. Maintain boiling for roughly 10 minutes. This effectively flushes away micro metal particles and leftover chemical residues.
Step 3: Drain and dry
Carefully pour out hot water, then wipe the pan completely dry using a clean towel or paper towels.
2.3 Deep Purification with Vinegar or Lemon
Step 1: Prepare white vinegar or lemon juice
To eliminate lingering metallic odors and manufacturing residues, prepare around one cup of white vinegar or fresh lemon juice.
Step 2: Dilute and simmer
Add clean water to dilute the vinegar or lemon juice, then heat the mixture to boiling. Keep simmering for 5–10 minutes.
Step 3: Rinse thoroughly
Allow the pan to cool down, pour out the acidic liquid, and rinse the pan interior and exterior fully with running water.
2.4 Seasoning (Optional, Anti-Sticking Treatment)
Step 1: Choose cooking oil
Seasoning helps minimize food sticking during early use. Pick cooking oil with a high smoke point, such as rapeseed oil or peanut oil.
Step 2: Heat the pan
Warm the pan to medium heat, pour in a small amount of oil, and swirl evenly to coat the whole inner surface. Keep heating for several minutes so oil penetrates the tiny pores of the metal.
Step 3: Cool and wipe excess oil
Turn off the heat. Once the pan cools naturally, wipe away surplus oil with paper towels or a cloth.
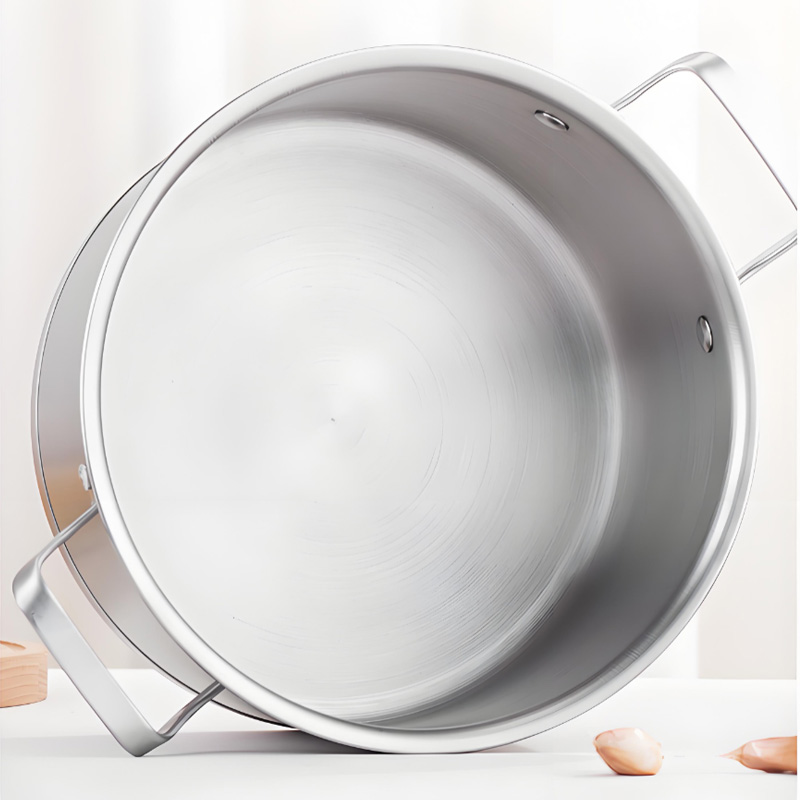
3. Essential Usage & Maintenance Tips
3.1 Control cooking temperature
Stainless steel transfers heat efficiently, yet extreme high heat should be avoided. Excessively high temperatures may cause food to stick and lead to discoloration on the pan base. Medium and low heat is recommended for daily cooking.
3.2 Suitable cooking utensils
Opt for wooden or silicone kitchen tools. Avoid metal spatulas to prevent scratching the interior surface.
3.3 Proper cleaning routine
Clean the pan right after cooking. Do not leave it soaked in water for extended periods. Use mild detergent and soft cloths; stay away from steel wool and harsh abrasives.
3.4 Storage method
Make sure the pan is fully dry before storage. You can place a paper towel inside to absorb residual moisture and avoid mold or rust spots.
3.5 Regular maintenance
Re-season the pan occasionally to maintain a smooth cooking surface and reduce sticking. If minor scratches or discoloration appear, use dedicated stainless steel cleaner for restoration.
Final Thoughts
Although the prepping workflow for a new stainless steel pan seems lengthy, it is critical for healthy cooking and long service life.
Following the above procedures removes manufacturing impurities and chemical residues, extends your cookware’s lifespan, and delivers a much better cooking experience.